

Purchasing a License
Your store is already installed on the server and opens in the browser — but for now it is still running in demo mode: the user password is not checked, and anyone can get inside. For initial experiments this is even convenient, but for real work, you’ll agree, it simply won’t do. The key that switches the store into production mode is a license. The path to it is short, and we’ll walk it together: from logging into your account to the green "Keys found" message in the program.
Step 1. Account
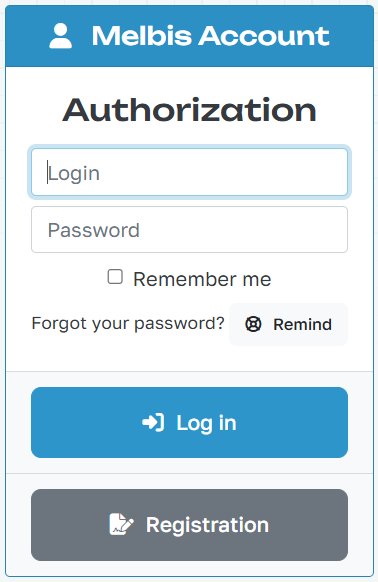
We start with your account on the Melbis website: https://melbis.com/en/account/. If this is your first time here, you will need a quick registration; if you have been here before, just sign in.
Step 2. License Request
After signing in, you will land in your account dashboard. This is where all your licenses and invoices will appear — for now, of course, it will be empty.
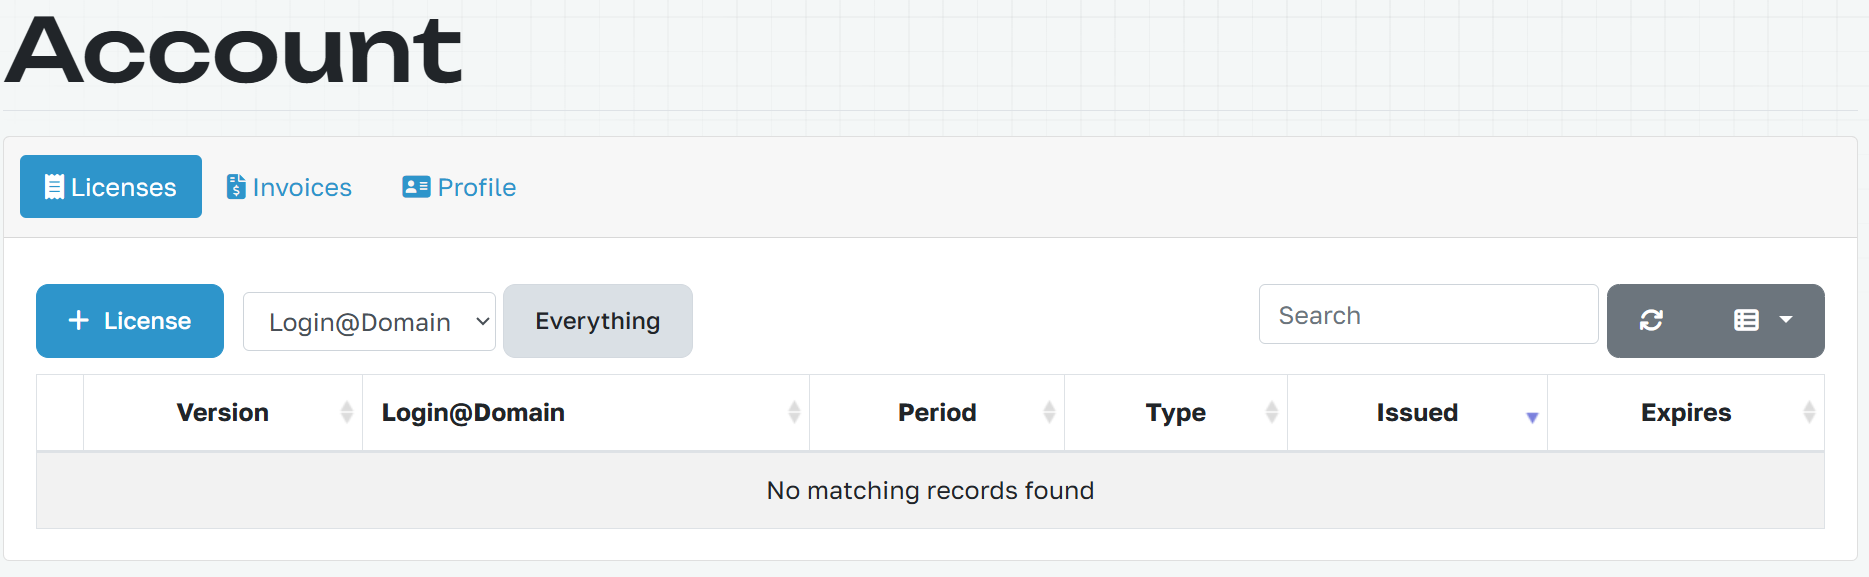
Click the "+ License" button — a small form will open with just four fields:
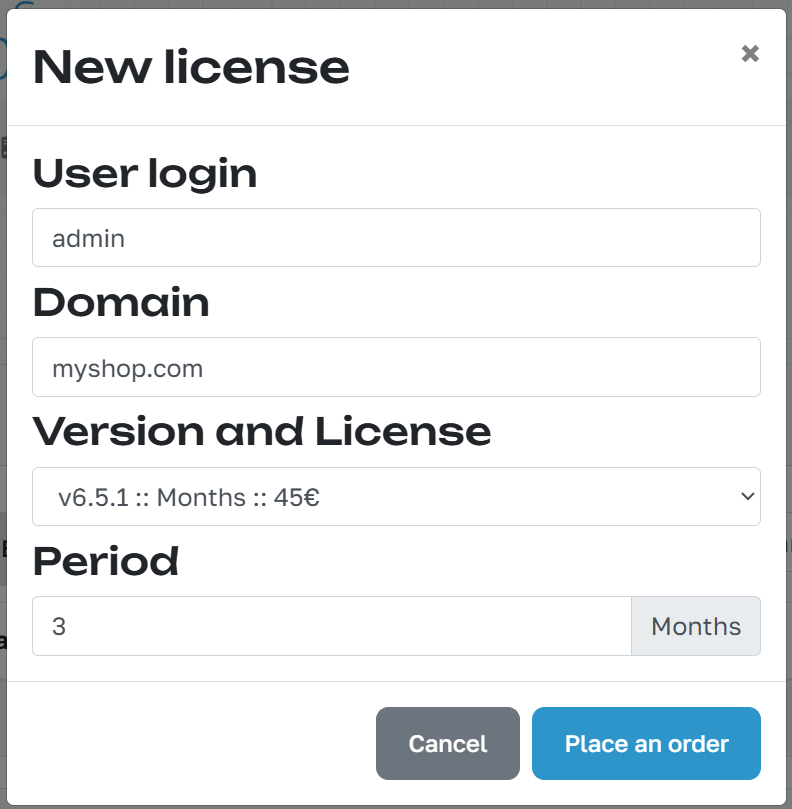
- User login — the login of your user in the Melbis Shop system. Please note: the license is tied to the user, not to the computer.
- Domain — the domain name without the https:// prefix and without www.
- Version and License — the program version in use and the license type.
- Period — how many periods the license is purchased for.
Check that everything is filled in correctly and click "Place an order".
Step 3. Payment
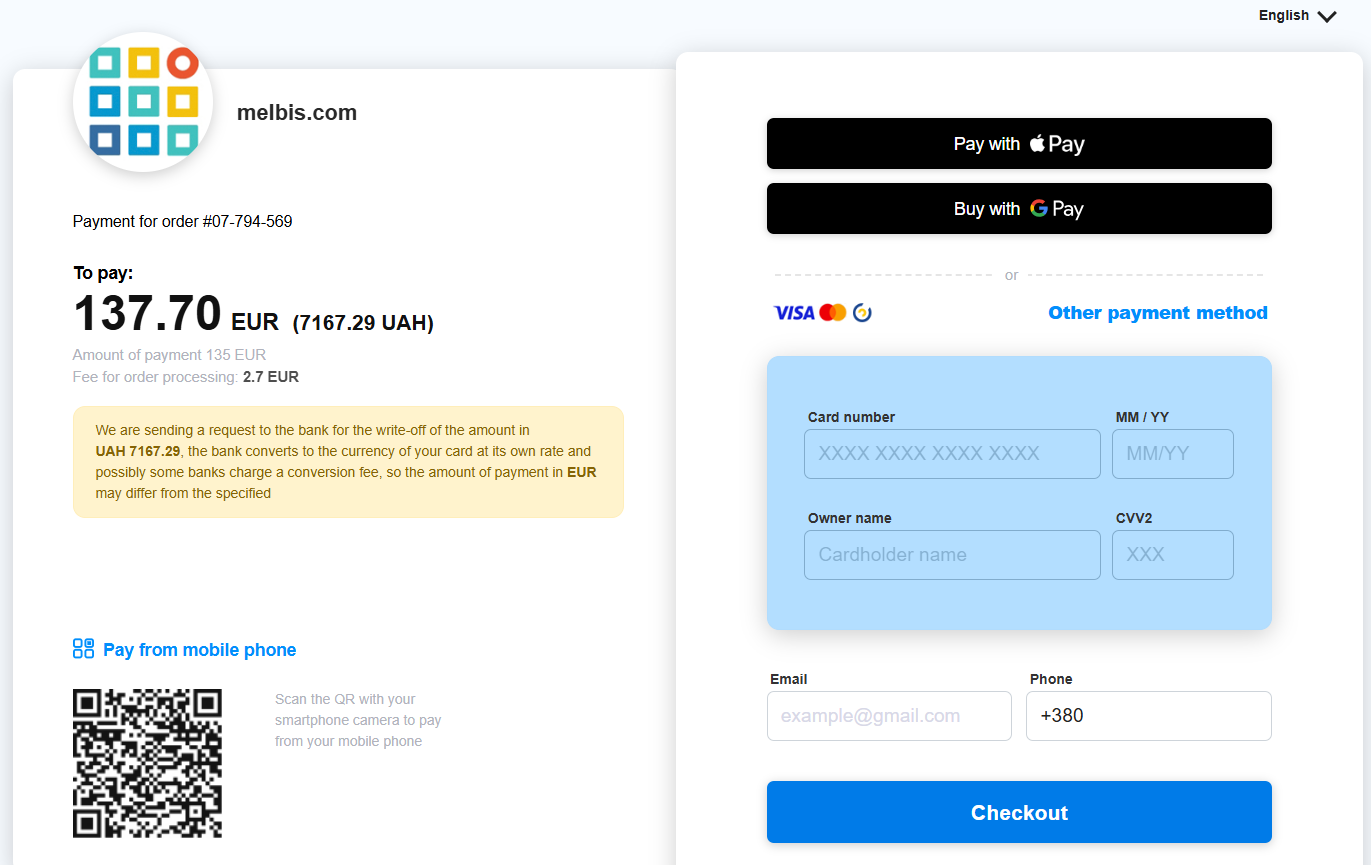
From here, everything happens automatically: the invoice is generated automatically, and the "Invoices" tab opens right away. All that remains is to click "Pay" and proceed to the payment page.
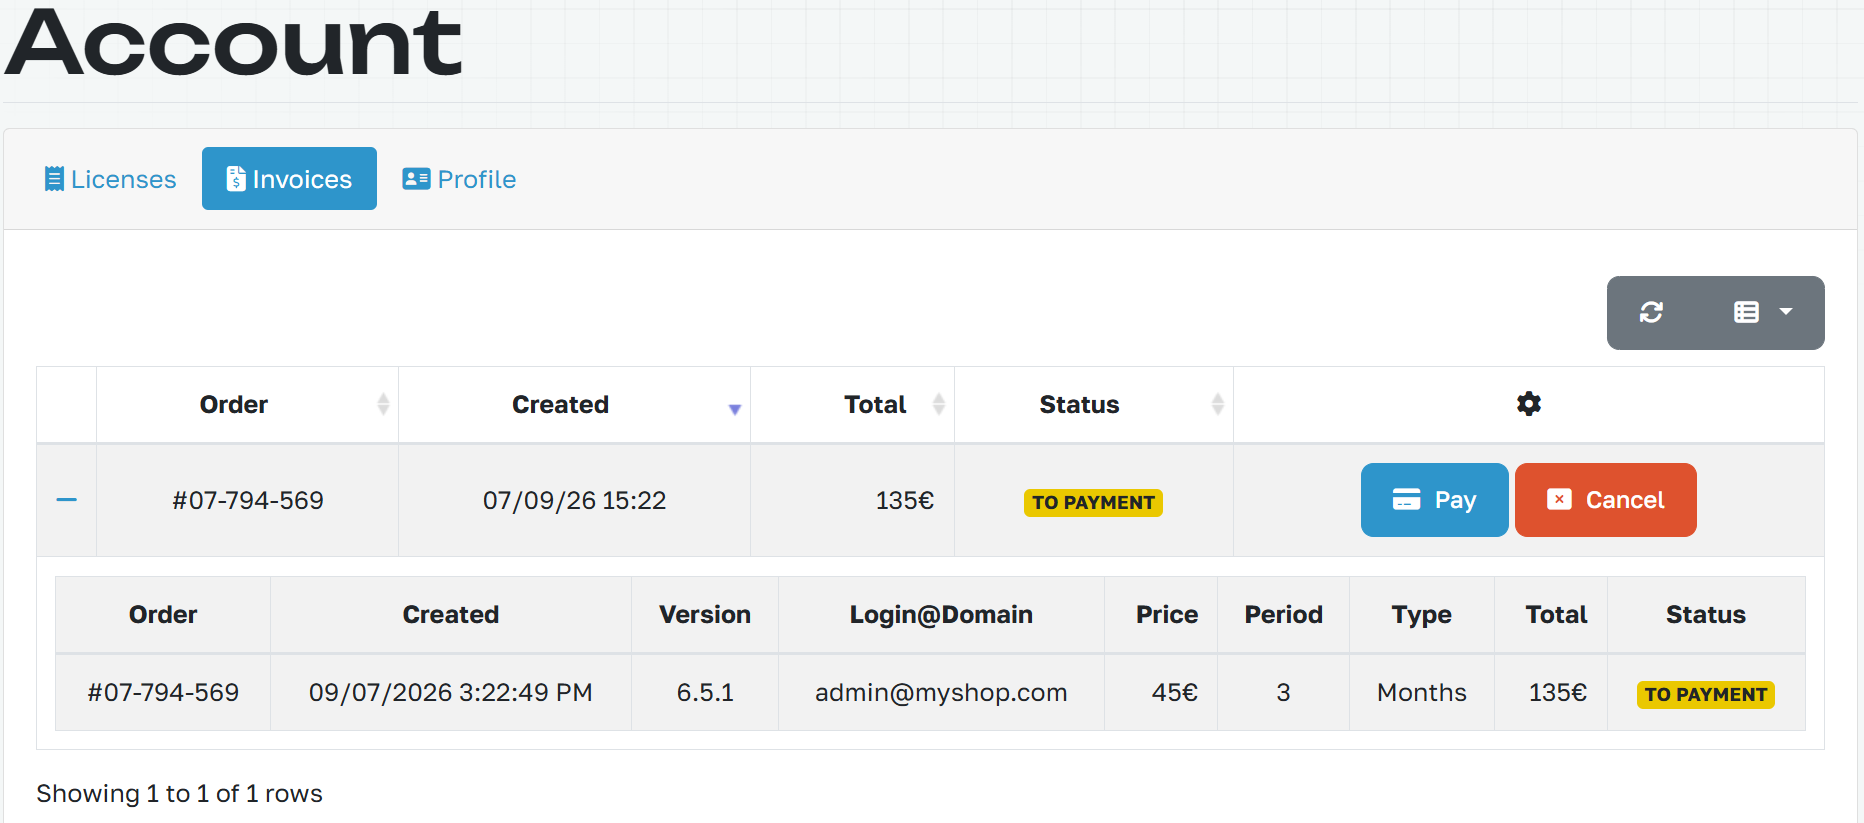
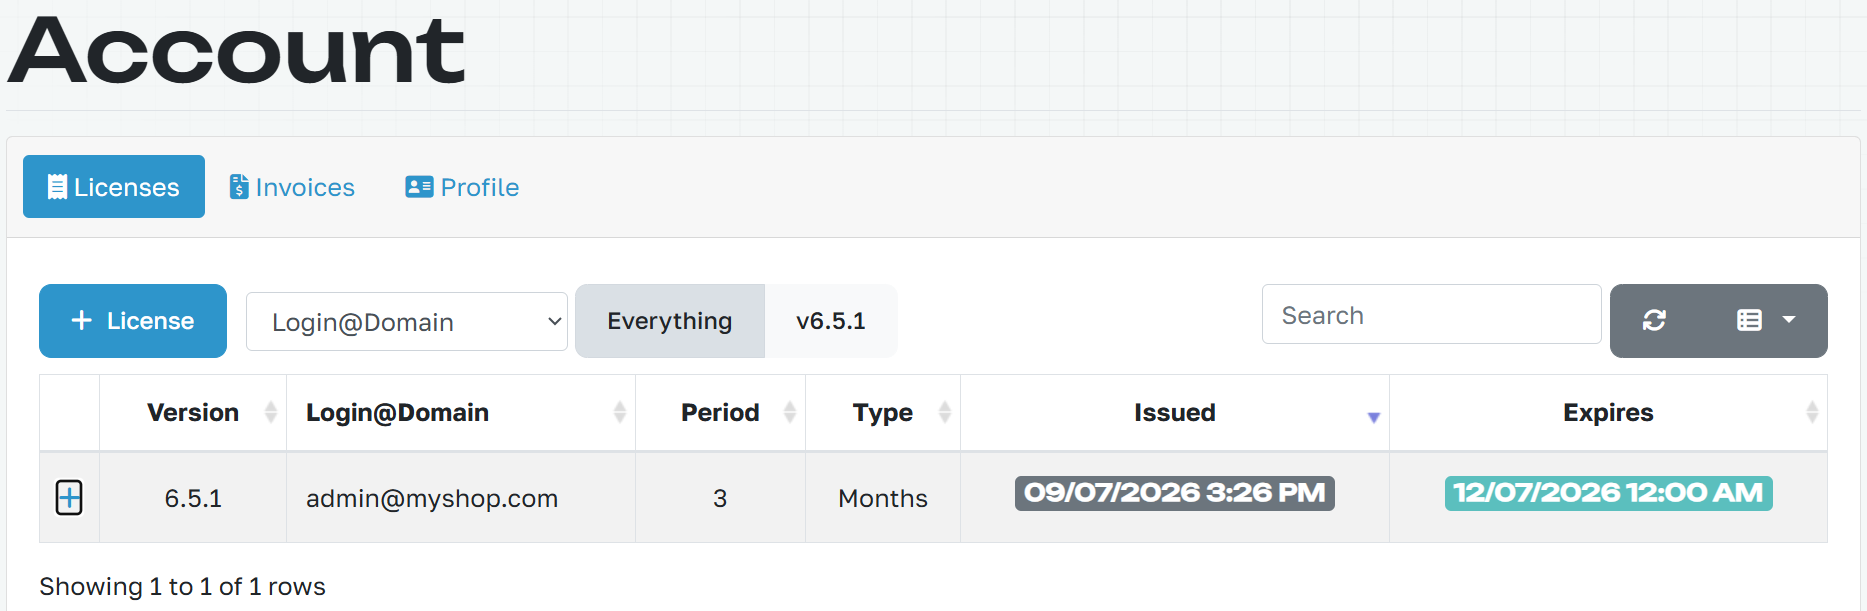
As soon as the payment goes through, a new line will appear in the list of licenses — with the start date and the expiration date.
Step 4. Checking the Connection in the Program
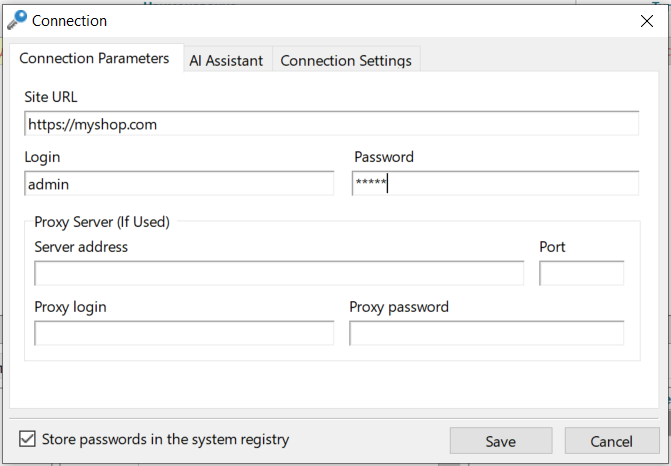
Good news: you do not need to copy any keys anywhere — the license starts working automatically. You only need to make sure the program is connecting to the correct address. Open Melbis Shop, go to "System" > "Connection", and compare what is entered there with what you used during registration: Site URL, admin login, and admin password (if you have not changed it yet).
Click "Save".
Step 5. Switching the Store to Working Mode
And now the main move. Open "Development" > "Installation".
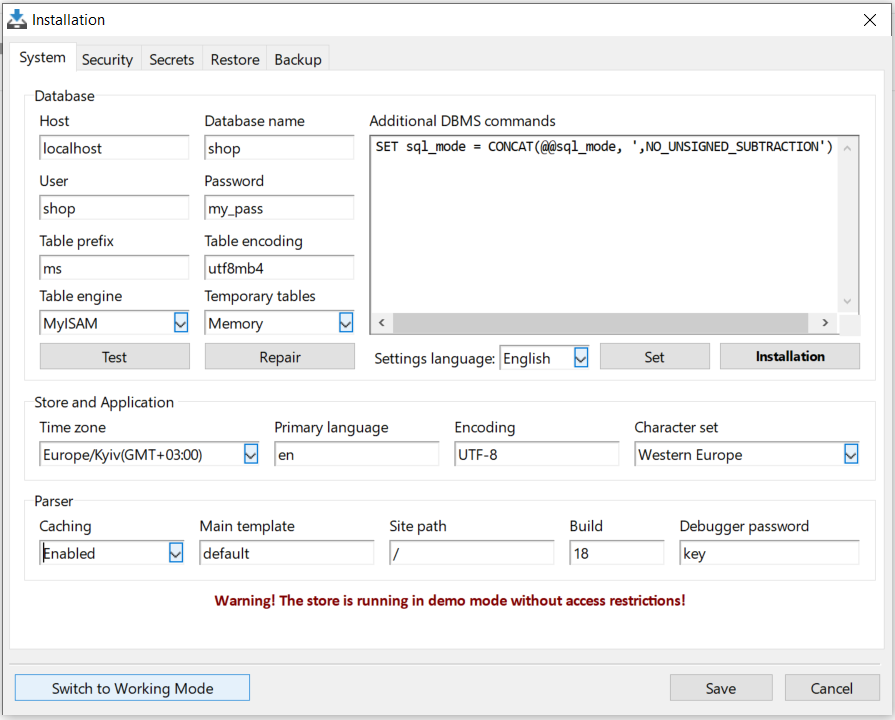
At the bottom left of this window, the "Switch to Working Mode" button is hiding — this is the actual switch. Click it. The store will switch to working mode, and the user password will finally start being checked.
Next, the "Dispatcher" comes into play — the window where the program checks for and retrieves new licenses. If you closed it, open it again.
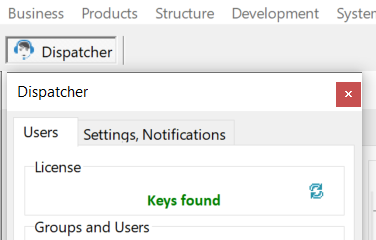
And here it is, the moment of truth: the red "Demo mode" message changes to the green "Keys found". That means everything worked.
Step 6. Changing the Password
Only one final touch remains, and it is important: change the password. As long as it is admin, working mode does not help much. Go to the "System" > "Users" menu.
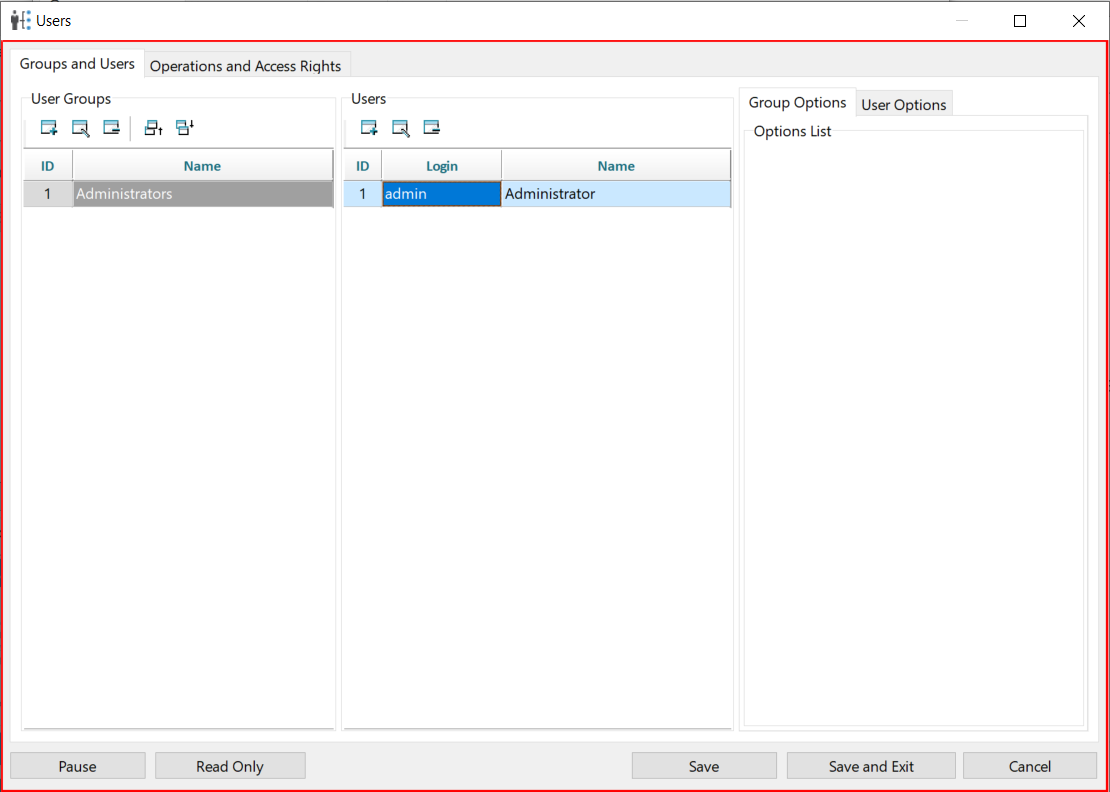
Select the required user, set a new password, and click "Done", then "Save and Exit".
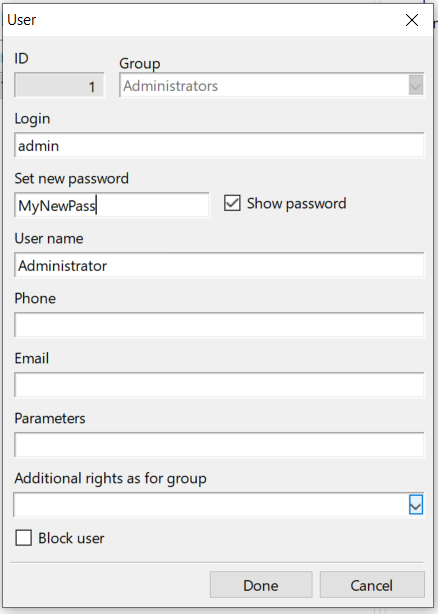
Now that’s it: the store is running in production mode and protected by your password. Congratulations!
If Something Went Wrong
Nothing страшного — there is always a way back. Open the "Development" > "Server" window, specify the IP address and Root password, and switch to the "Console" tab.
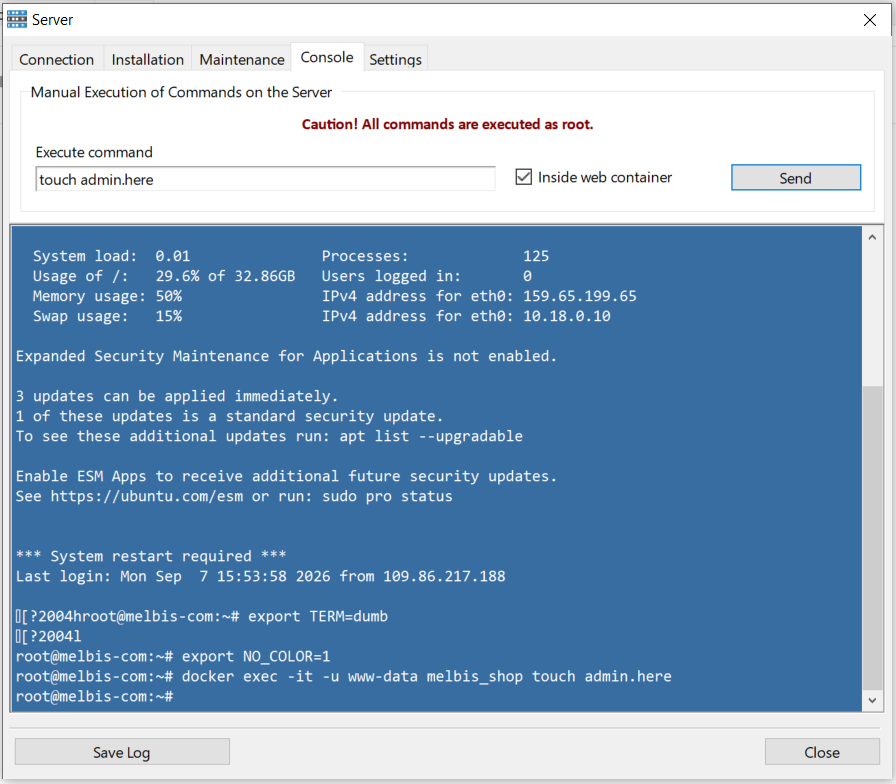
Enter the following command in the "Execute command" field:
touch admin.here
Be sure to check the "Inside web container" box and click "Send". The store will return to demo mode — and you can calmly figure out what went wrong.
And if you are completely stuck, the AI assistant will always help you — how to connect it is described in a separate section.